
So far the most fun part of this blog has been discovering each other's style. I love things inspired by nature, as you saw in the last post, and anything vintage. Chris likes, well, I'm not sure yet, but he is open-minded to mine. So this project was my idea. It's inspired by some old suitcases I found at an estate sale this weekend and the perfect fabric that I came across at a flea market. This project truly just fell into place - don't you love when that happens?
Anyway, I came home Saturday morning after visiting all of the yard and estate sales in the area with the supplies, and Chris figured out how to make it work.

First we used this odd little table, or desk, that we found at a thrift store for the legs and ended up using the top as a bookshelf that you'll see later in this post. So, you'll need table legs, either from an existing table or make your own using galvanized piping (you'll see another easy, awesome way to use piping in a post later this week). This table that we found was just about the right height, we just took about 3 inches off each leg using a pipe cutter.

Chris removed the legs while I got started covering the suitcase.
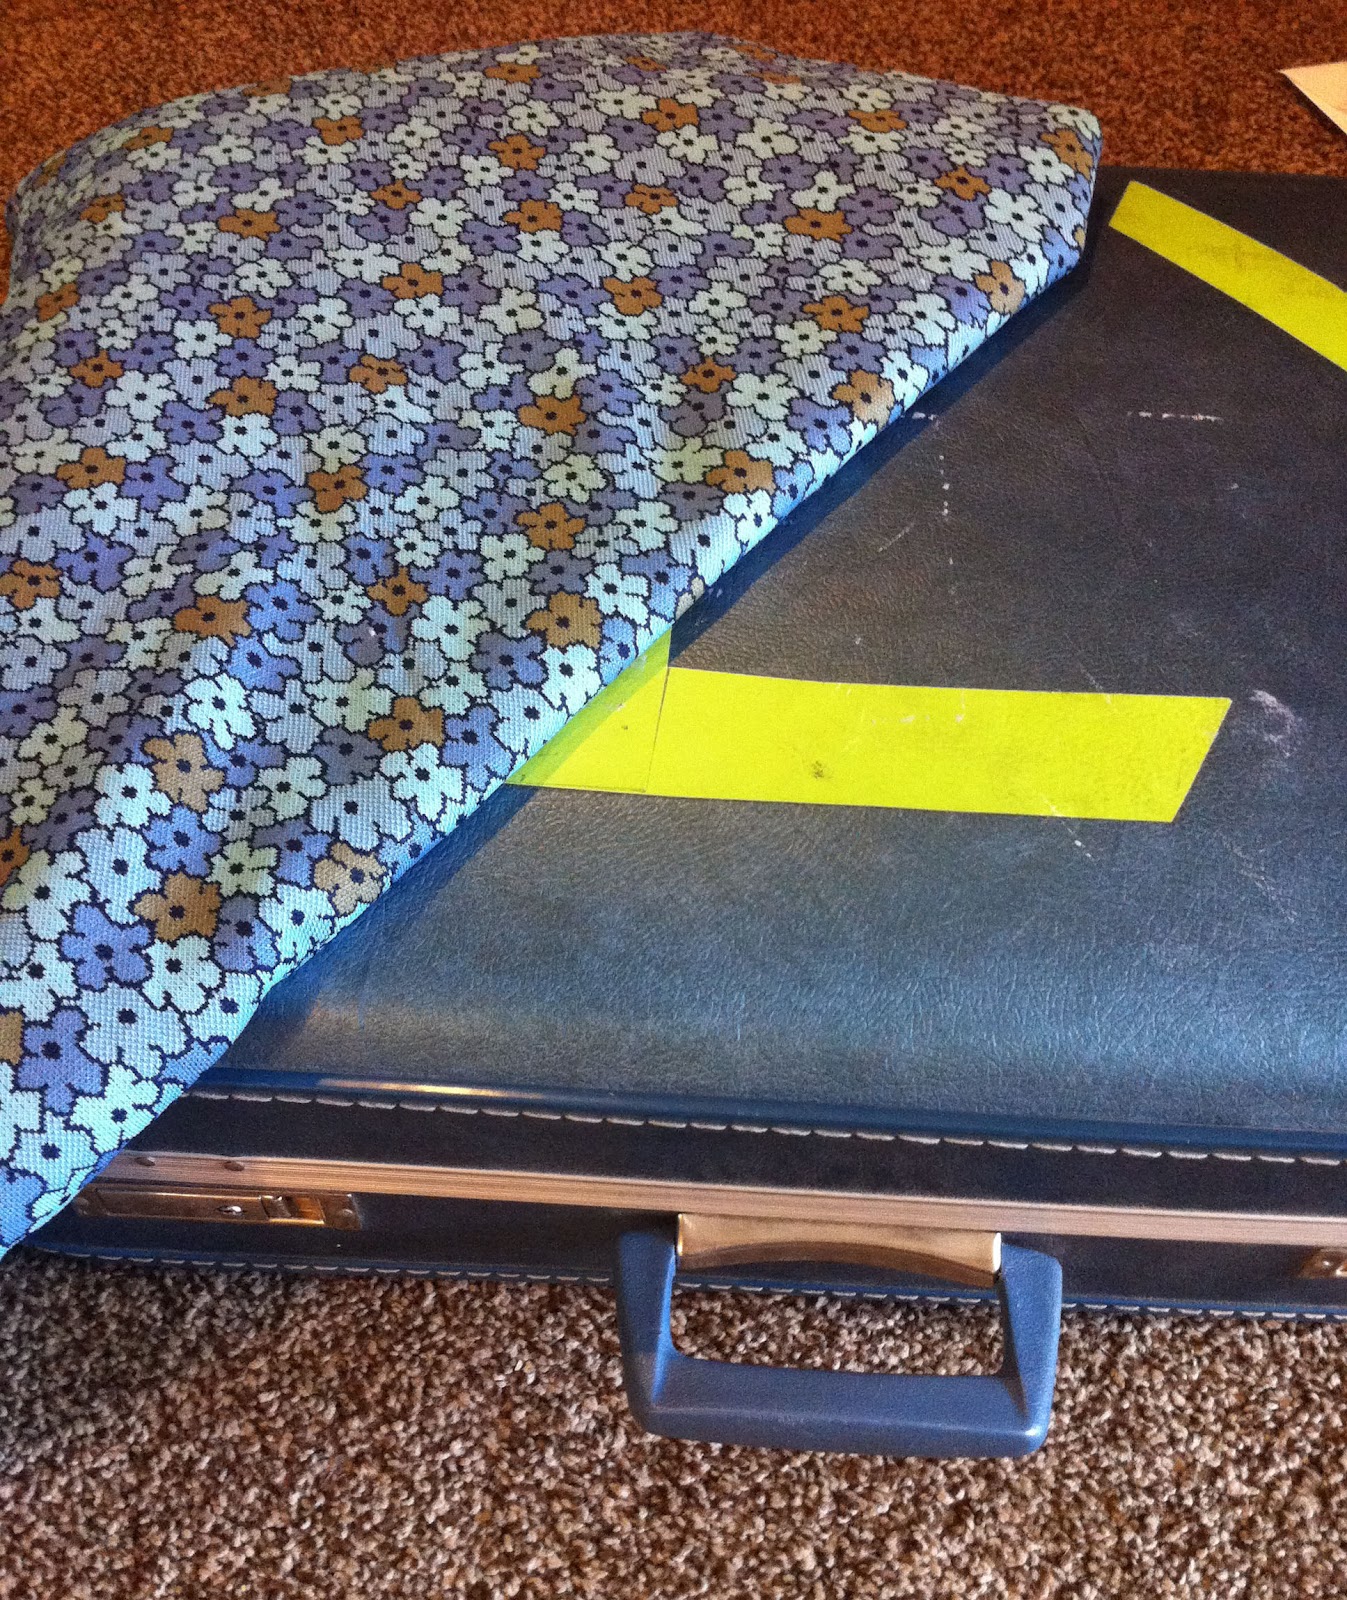
I cut the appropriate size of fabric and then Chris took over. We didn't use any glue, we just used a flat head screwdriver to push the fabric into the lip on the suitcase. If we ever wanted to change the fabric, it would be very easy to do.


Once the top of the suitcase was covered, we (by we, I mean Chris) got started attaching the legs. He pre-drilled holes in both the suitcase and a piece of wood which he used to provide better support.

You'll want your wood support vertical rather than horizontal so both sides of your table leg are supported, you could also use a larger piece of wood that covers the whole inside of the suitcase.


Each leg had two holes on each side. Chris first attached the outer most side, because on the inside he used another piece of wood to make the legs slanted outward.

Once the legs are secured, you're finished! And now you have a unique side table, or coffee table, or whatever you'd like to use it as!


And here are some pictures of our seating area, which of course is still a work in progress. But I'm glad to have a place to sit, rather than just a large empty room. We used the top of the table as somewhat of a bookshelf. It's not permanent, but definitely a good fix for the moment. Here's to finally getting somewhere!
Very cute! I've been wanting to make a luggage table. I've also seen some really cute chairs and pet beds. You can really never have enough old, beautiful luggage cases in my opinion. Great post.
ReplyDeleteLove it.
ReplyDelete